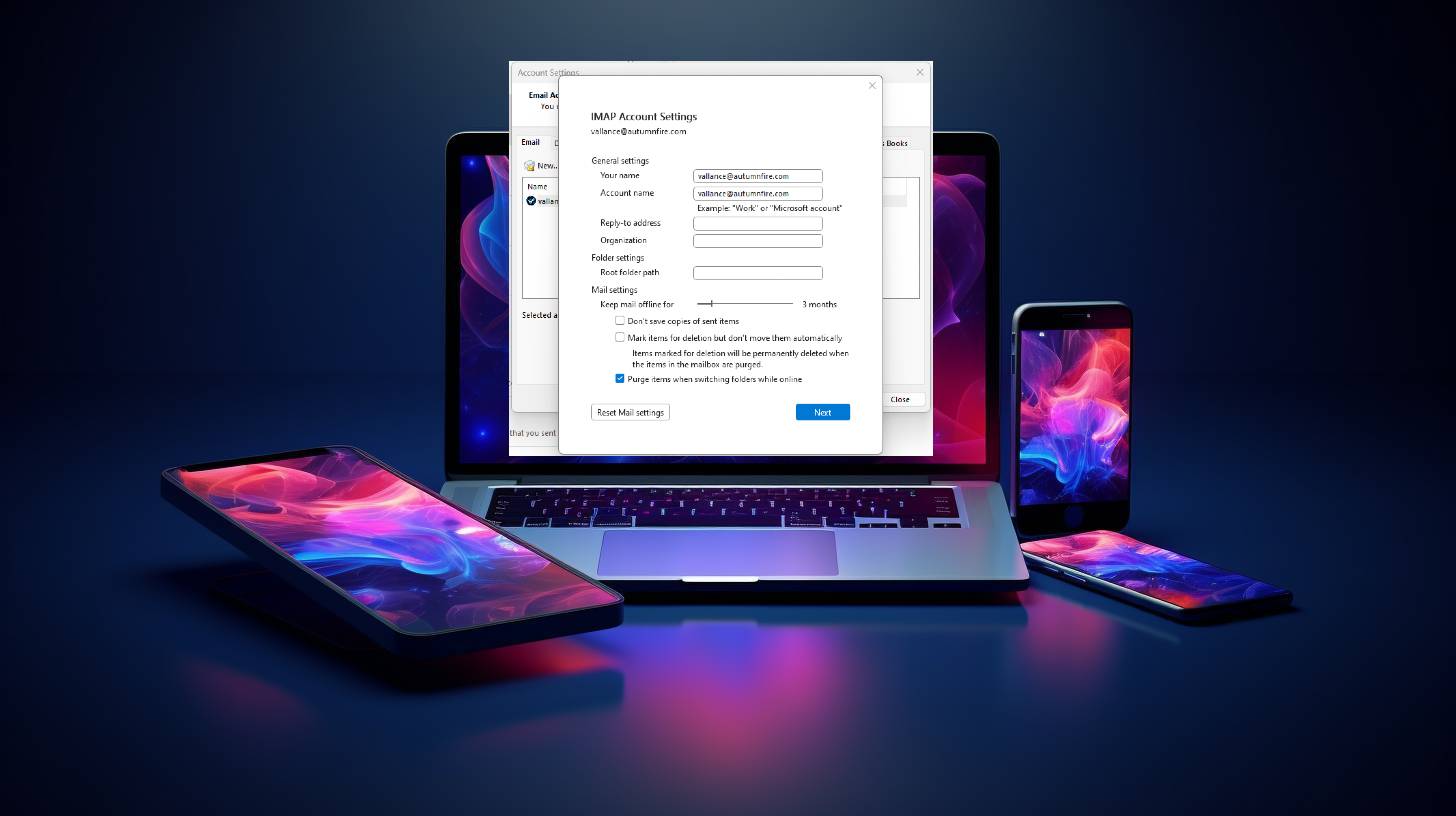
Here’s a step-by-step guide to setting up Microsoft Outlook so that when you delete an email, it is deleted from the web server as well:
- Open Microsoft Outlook on your computer.
- Click on the “File” tab in the top left corner of the application.
- From the File menu, select “Account Settings” and then click on “Account Settings” again.
- In the Account Settings window, select the email account that you want to modify, and then click on “Change” button.
- In the Change Account window, locate the “More Settings” button towards the bottom right corner, and click on it.
- In the Internet Email window, navigate to the “Advanced” tab.
- Under the Delivery section, check the box that says “Leave a copy of messages on the server” to enable this feature.
- If you want to delete messages from the server immediately after deleting them in Outlook, uncheck the box that says “Leave a copy of messages on the server”.
- Now, click on “OK” to save the changes.
- Back in the Change Account window, click on “Next” and then “Finish” to complete the setup process.
Once you have completed these steps, any email you delete in Outlook will be deleted from the web server as well. However, please note that if you have set up multiple email accounts in Outlook, you’ll need to repeat these steps for each account individually.
It’s essential to note that once an email is deleted from the server, it cannot be recovered. So, make sure to take caution while deleting messages and consider taking regular backups of your important emails if needed.
